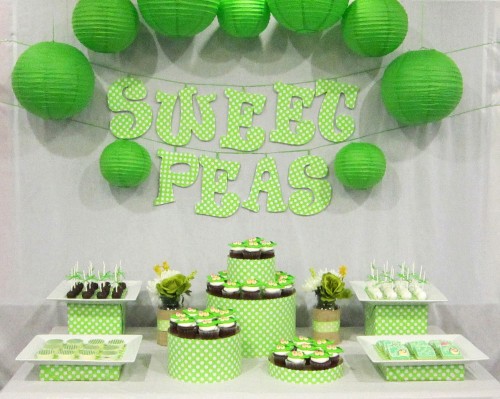
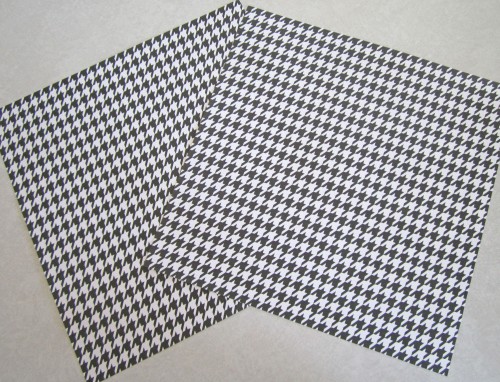
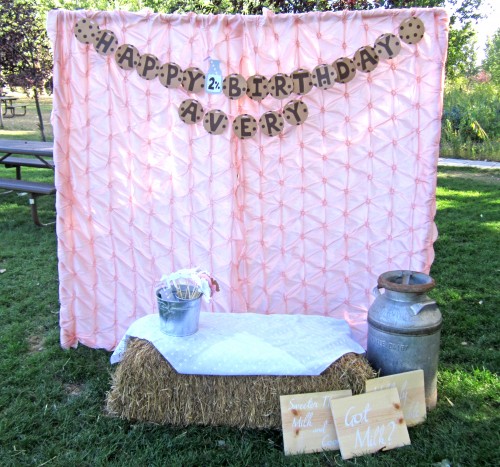
Here is our snack table, wanted to keep it simple and fun. Everything on here is all do it yourself and very inexpensive! To start our I just got fabric from Hobby Lobby that was on sale for the backdrop and table cloth. The cake stand and plate were items I already had. Always check to see what you have on hand and how you can use them to save money from buying new things, you will be surprised at what you will find and can do!

DIY Peep bunting

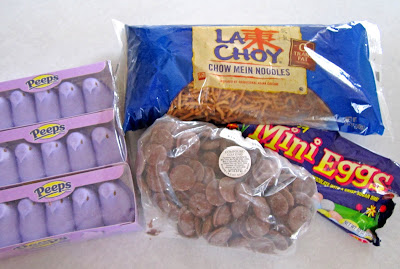
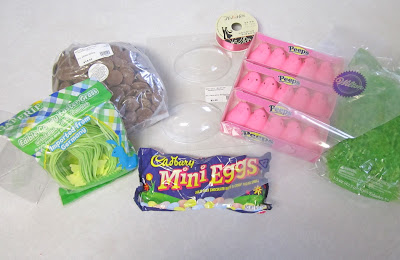
DIY Peep bird nests - yummy!

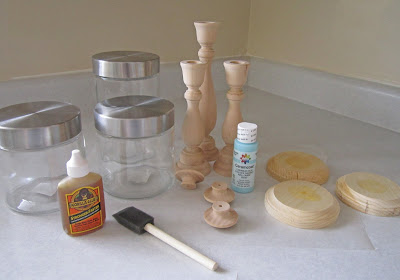
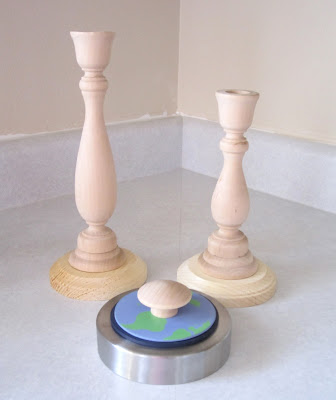
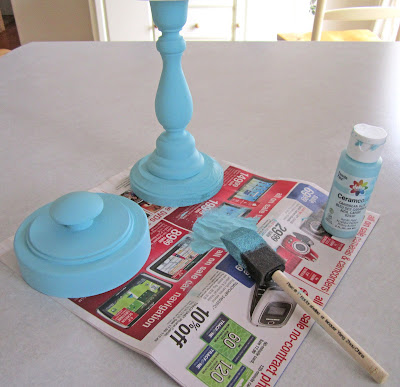
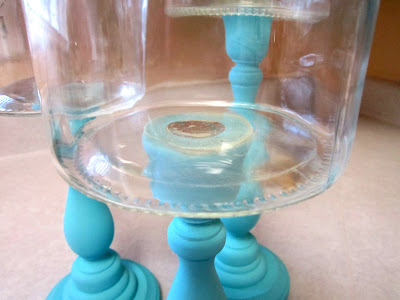
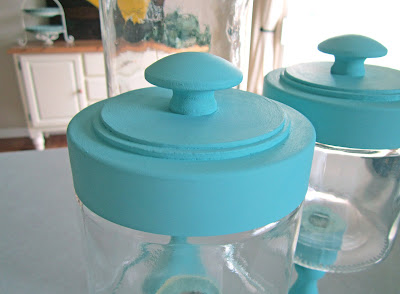
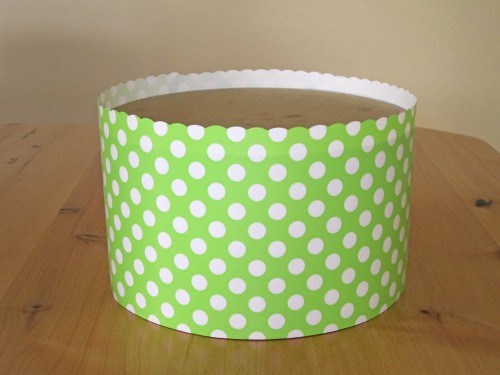
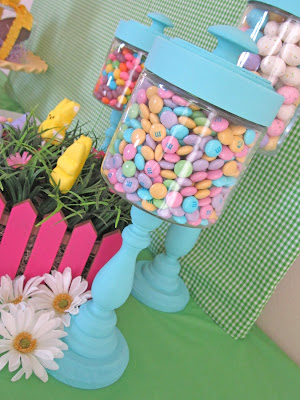
DIY candlestick jars
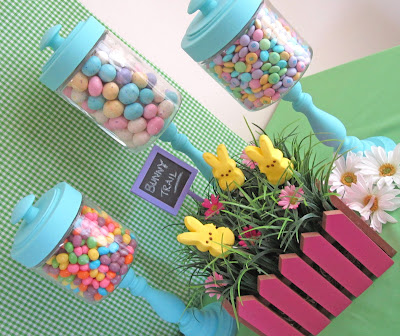
I filled them with Robin Eggs, M&M's, and Jellybeans
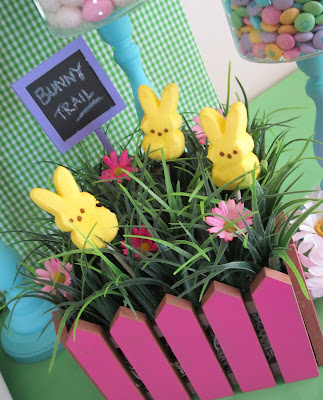
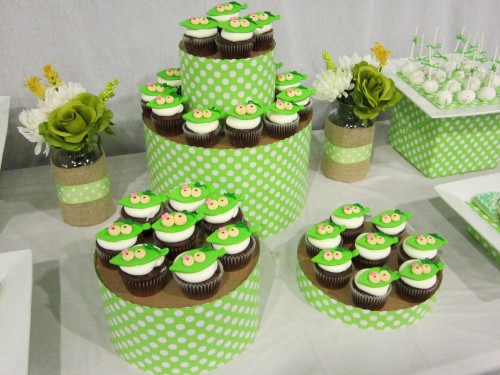
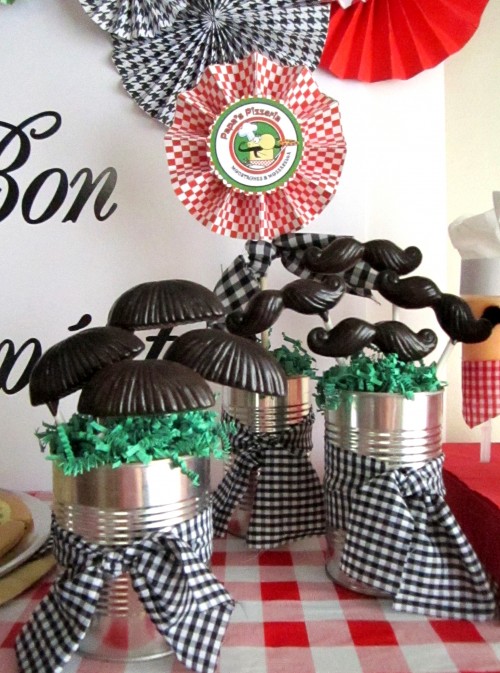
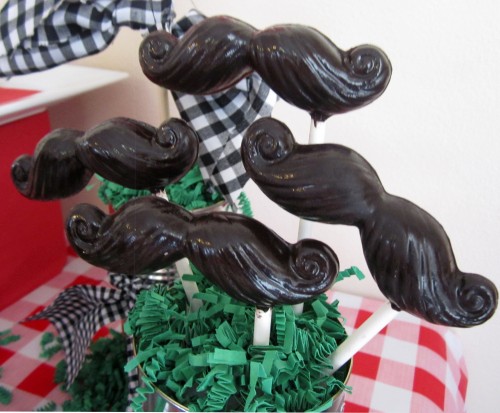
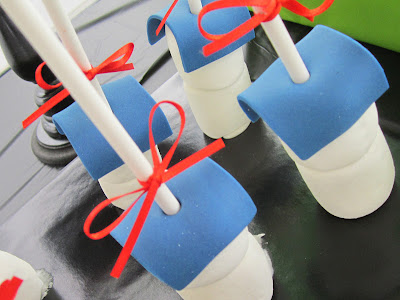
DIY Bunny Peep display

This was such a cute way to display the peeps and I loved that they were on sticks, so the kids could just come up and grab one out (then just pop another one in its place)


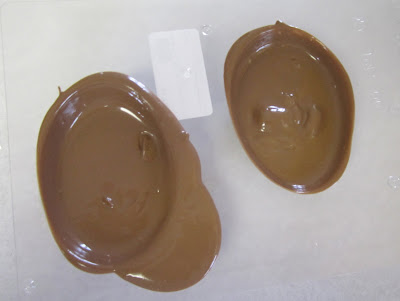
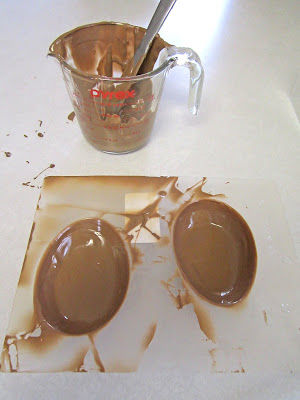
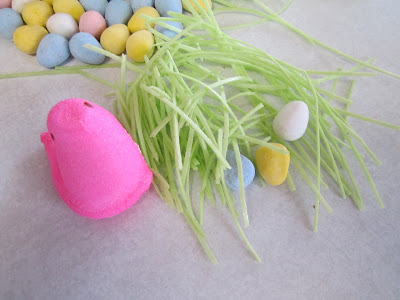
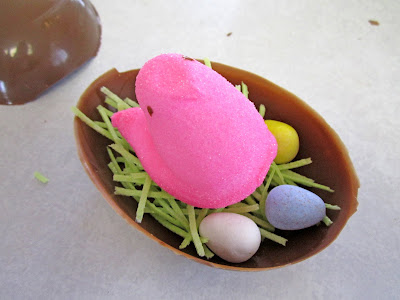
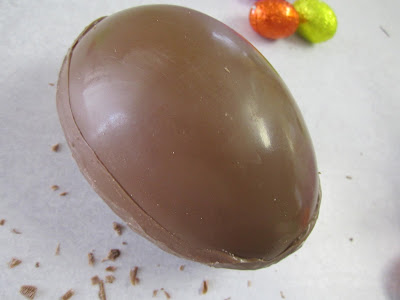
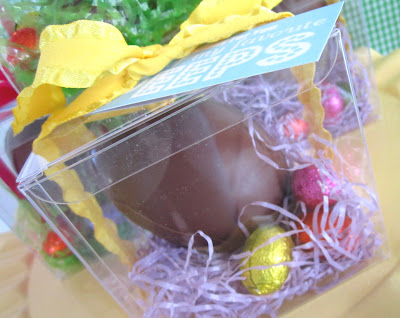
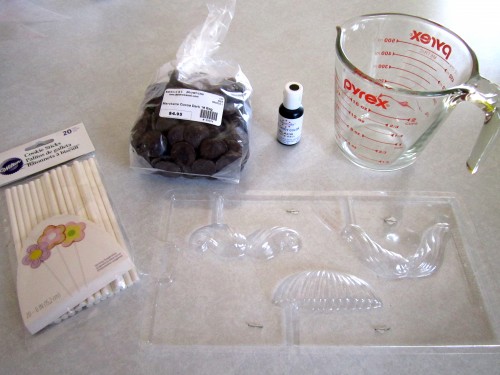
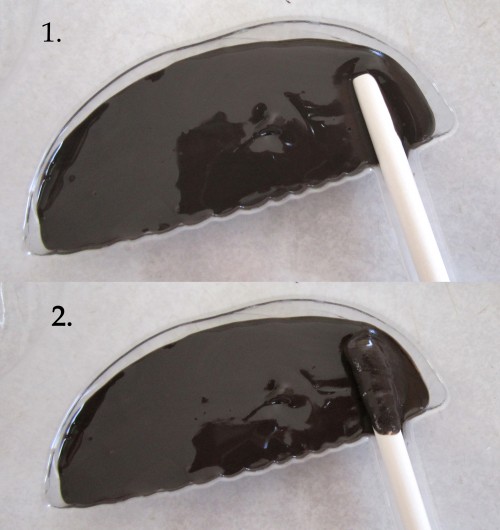
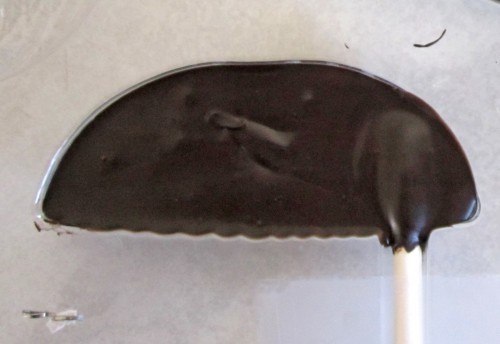
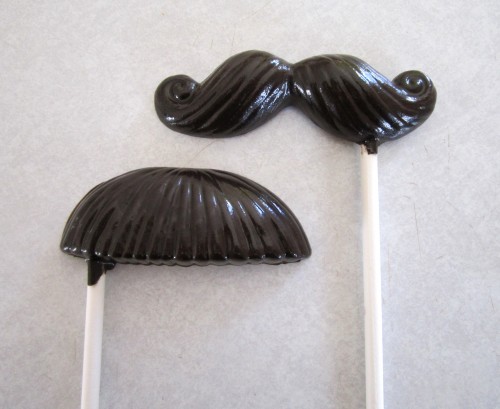
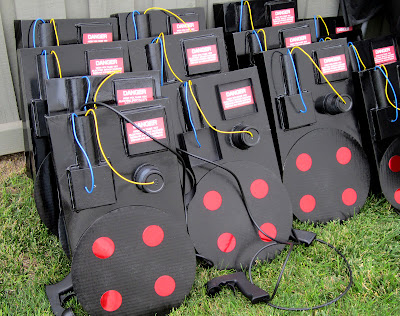
DIY 'Hatch a Peep' party favors
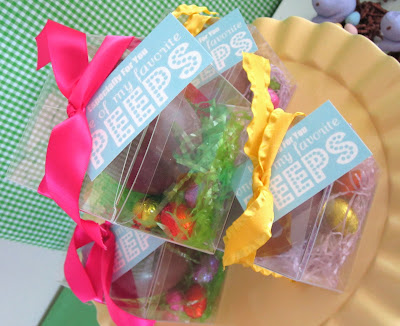
These were fun (and a little messy) to make, but the kids sure loved them! Chocolate eggs filled with a baby peep and some candy that they got to break open.

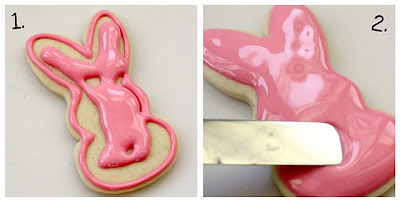
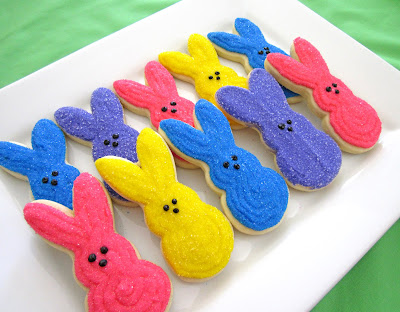
DIY Peep sugar cookies

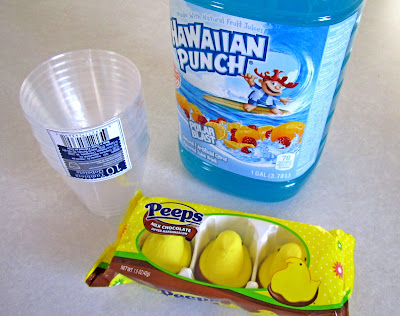
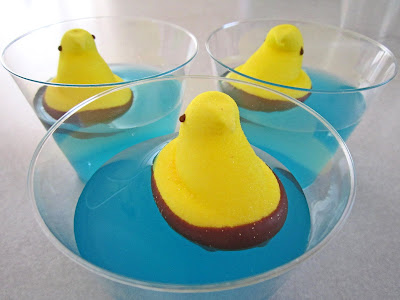
DIY Floating Peeps drinks

The kids LOVED these!
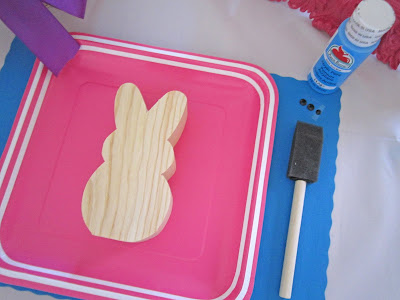
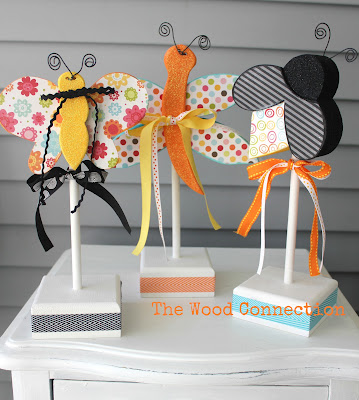
'Painting with my Peeps'
We had a fun little art craft for the kids to do.
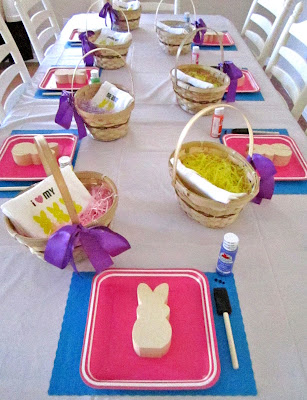
They each painted there own little peep! The peeps were just wood cut outs. You can find an outline or pattern online and trace and cut them our yourself if you have a scroll saw. If not, check around for local wood shops to see if they can do it. Mine were a little over a dollar each, pretty cheap. Each setting also had a basket (from dollar store- fancied up with some colored grass and a bow) with a t-shirt so they don't get their own clothes all dirty.
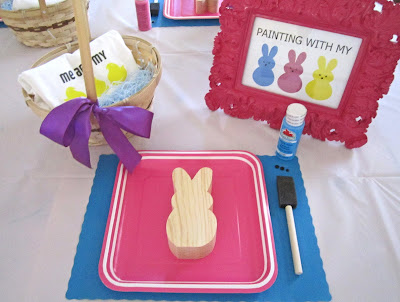
Foam brush, bottle of paint, jewel stickers (for the eyes and nose), paper plate and paper place mat

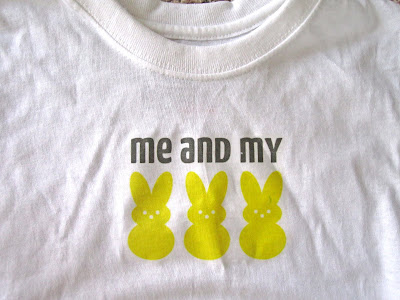
DIY Peep T-Shirts
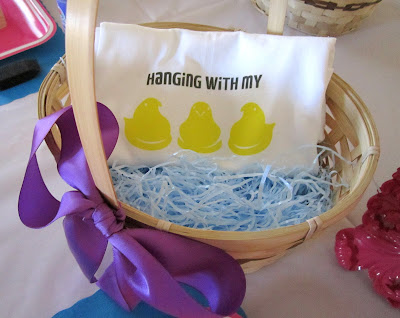
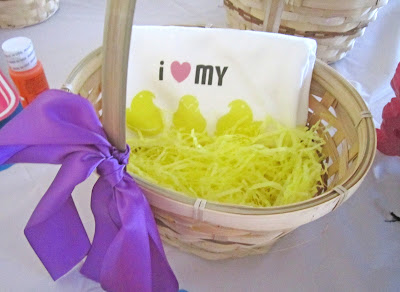

So darn cute!

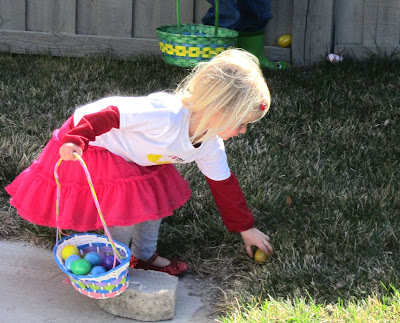
We had a little Easter egg hunt for our activity. All the mommies brought a dozen pre-filled eggs to share, another great way to break up the cost. We hid them around the back yard for the hunt. This was nice because there was plenty to go around and all the kids were about the same age so there wasn't any one kid that just buzzed around and got them all either.

Thank you for checking out our Peeps playdate and hope that it inspires your own! Check back for all the tutorials for everything you have seen here, tomorrow I will be posting all ones for the treats and drinks. Hope you have a Happy Easter!